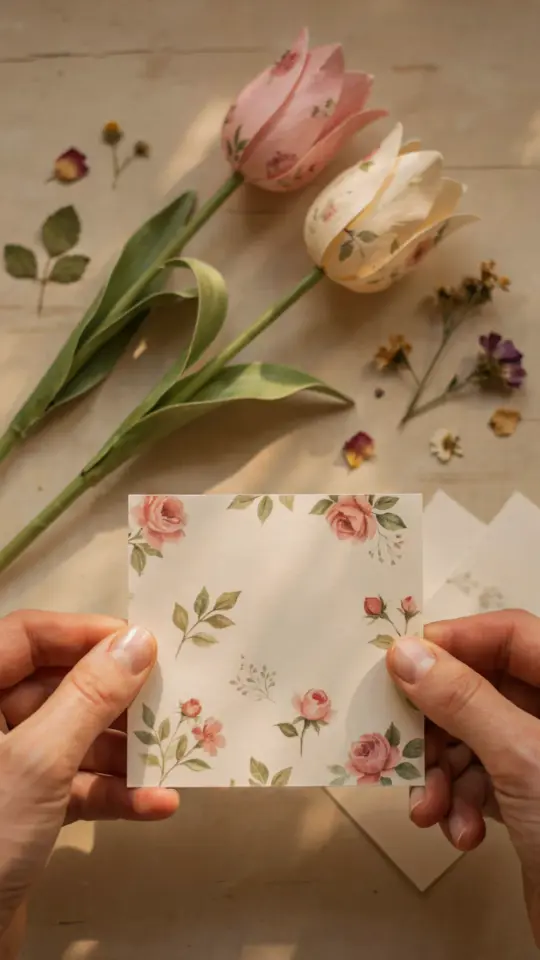
If you have been scrolling through Pinterest lately, you have probably noticed that DIY cardstock flowers are everywhere. They are popping up in living rooms, nurseries, and even wedding backdrops. And honestly, I get it. These paper blooms are cheap, lightweight, and surprisingly lifelike once you know a few tricks. I recently made a whole wall arrangement for my entryway using nothing but cardstock, scissors, and hot glue. The best part? No watering required. In this tutorial I will walk you through every step, from picking the right paper to hanging your finished display. Grab your craft knife and let us make something that actually looks good.
Why Cardstock Flowers Are Trending for Seasonal Home Decor
Paper flowers have been around forever, but right now oversized cardstock versions are having a real moment. I think it is because people want big visual impact without the cost of fresh florals. Cardstock holds its shape much better than regular printer paper, so you can create petals that look structured and sculptural. This makes them perfect for seasonal swaps. For fall I use burnt orange and mustard tones. For spring I switch to blush and sage. You can change an entire room just by swapping out a few paper blooms, and that kind of flexibility is hard to beat.
Another reason this trend sticks around is that cardstock flowers travel well. If you rent a booth at a craft fair or need decor for a party, these flowers will not wilt or leak water. They also weigh almost nothing, so hanging them is a breeze. I have even seen people use them for graduation parties and baby showers. The adaptability is what makes them a staple in modern DIY home decor.
Choosing the Right Cardstock and Tools for Beginners
Not all cardstock is created equal. If you pick paper that is too thin, your petals will flop. If you pick paper that is too thick, you will struggle to curl the edges. I recommend 65 lb or 80 lb cardstock for most flower projects. It holds a crease well and cuts cleanly with a sharp blade. Stay away from textured or glitter cardstock for your first few flowers. Smooth surfaces are easier to shape and glue.
Here is a quick list of tools I use every time:
- A cutting mat (self-healing is best, but a thick cardboard works too)
- A sharp craft knife with extra blades (dull blades tear the paper)
- Scissors for trimming small curves
- A bone folder or the back of a spoon for scoring
- Low-temp hot glue gun (less risk of burning your fingers)
- Floral wire or wooden skewers for stems (optional)
You do not need a fancy die-cutting machine. Hand cutting gives you more control over petal shape, and it is surprisingly meditative. Just make sure your blade is sharp so the edges come out clean rather than fuzzy.
Step 1: Cutting Your Petal Shapes Like a Pro
Start with a simple teardrop shape. Fold a piece of cardstock in half, draw half a teardrop along the fold, and cut. When you unfold it you get a symmetrical petal. For a large flower you will need about 8 to 10 petals. For a smaller bloom use 5 to 6. I like to vary the size slightly. A mix of large and small petals gives the flower a more natural, organic look.
Trace your template onto different shades of the same color family. For example, use a deep burgundy for the center petals and a lighter pink for the outer ones. This creates depth without extra effort. If you want a faster method, stack three sheets of cardstock and cut all three at once. Just be careful not to shift the stack while cutting. You can also use circular shapes for a sunflower style, but teardrops are the most versatile and easiest for beginners to shape.
Step 2: Adding Dimension with Shaping Techniques
Flat petals look like kindergarten art. To make them look like real flowers you need to add curves. Hold a petal between your thumb and the rounded edge of a scissors blade or a wooden dowel. Gently pull the paper across the tool to curl the edges outward. For the center petals, curl them inward to create a cupped shape.
Another trick is to lightly crumple the petal and then smooth it out. This adds subtle wrinkles that mimic natural veins. Do not over crumple, or the paper will weaken. I also use a bone folder to score lines from the base to the tip of the petal. This gives structure and makes the petal stand up instead of lying flat. Practice on a scrap piece first. Once you get the feel for how much pressure to apply, you can shape a whole flower in under five minutes.
Step 3: Assembling the Flower Layers
Lay out your petals in a circle before picking up the glue. Decide which petal goes on top and which
#CardstockDIY #PaperCrafts #DIYFlowers #HomeDecorCrafts #CardstockFlowers
Leave a Comment