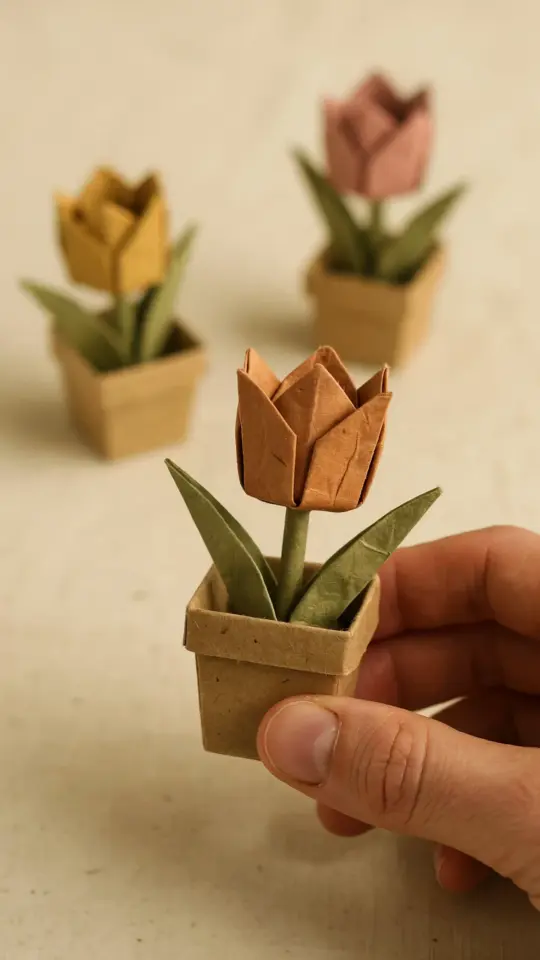
If you have ever scrolled through Pinterest and paused at a wall of giant paper blossoms, you might have thought “that looks too complicated for me.” I felt the same way until I actually tried making paper flowers myself. It turns out that with the right technique and a bit of patience, anyone can create realistic blooms that look expensive but cost pennies. This tutorial will walk you through every step so you can make your own paperflowers for home decor, gifts, or party decorations without frustration.
Why make paper flowers instead of buying real ones
Real flowers wilt in days, and good quality faux flowers can be surprisingly pricey. Paper flowers solve both problems. They last for years, weigh almost nothing, and you can customize every color to match your space. Plus, the process itself is relaxing. I like to put on a podcast and cut petals while the afternoon light comes through the window. You get a finished object that feels genuinely handmade, not factory produced.
Another reason to try this craft is that you probably already own most of the supplies. A glue stick, scissors, and some old books or office paper can get you started. If you enjoy the first flower, you can upgrade to better paper later. There is no pressure to buy a kit. This is one DIY where simple materials still produce beautiful results.
Gathering your materials: what you actually need
Before you start cutting, let me save you some frustration. The paper choice matters more than you think. Cardstock that is too thick will resist curling. Printer paper that is too thin will tear or look floppy. I recommend 65 lb cardstock for large flowers and 24 lb copy paper for smaller delicate petals. Here is my short list of essentials:
- Colored cardstock or scrapbook paper (two coordinating shades per flower)
- Sharp scissors (a small detail pair helps)
- Hot glue gun with glue sticks
- Floral wire (18 gauge works for stems, 22 gauge for leaves)
- Pencil and a round object for tracing (a cup lid works)
- Green floral tape
That is really all you need to make a dozen flowers. If you want to add texture, you can also grab a bone folder or the back of a butter knife for curling petals. But honestly, your fingers do a fine job too.
Step by step: cutting and shaping the petals
Start by cutting six to eight teardrop shapes from your paper. Each petal should be about the size of your palm for a medium flower. I trace a simple template from scrap cardboard so all petals are the same size. You can also fold the paper in half and cut a half teardrop to get symmetry automatically. Do not stress about perfection. Slight variation makes the final flower look more natural.
Now comes the magic part: shaping. Take each petal and gently curl it around a pencil or your finger. For the outer edges, roll the paper away from you to create a cupped shape. For the center petals, roll tighter so they stay closed. This step separates a flat paper cutout from a realistic bloom. Take your time here. I usually shape all the petals first, then assemble, because it keeps the glue process smooth.
One trick I learned from a friend who makes wedding flowers: lightly crumple the largest petals and then smooth them out. The creases add subtle veins that make the paper read more like real petals under soft light. Try it on a scrap piece first to see if you like the effect.
Assembling the flower: layering for depth
Layering is what gives paperflowers that professional, dimensional look. I start with a small circle of paper as a base. Then I glue the largest petals first, spacing them evenly around the circle. Each layer should have its petals offset from the one below so you do not see gaps. For a five petal flower, offset by about 36 degrees. For a six petal flower, offset by 30 degrees.
After the outer layer, add a middle layer of slightly smaller petals. Then a center layer. Finally, add a small cluster of tightly rolled paper strips in the middle to mimic stamens. I like to fringe the top of a narrow strip of yellow paper, roll it up, and glue it in the center. It takes two minutes and makes the flower look complete rather than flat.
If you want a more realistic look, curl the center petals inward so they hide the glue point. Hot glue dries fast, so hold each petal in place for about ten seconds. If you get a glue string, just pull it off once cool. It happens to everyone.
How to attach stems and create greenery
Stems make your paper flowers usable for vases, bouquets, or wall installations. Cut a length of floral wire about twelve inches long. Bend a small hook at one end, insert it through the back of your flower base, and secure it with hot glue. Then wrap the wire with green floral tape, stretching the tape slightly as you go so it sticks to itself. Start at the base of the flower and spiral down to the end of the wire.
For leaves, cut a long oval shape from green cardstock. Fold it lengthwise and gently crease the center to create a vein. Glue a short piece of wire to the back of the leaf, then tape the leaf wire onto the main stem. Position leaves at different heights. Real flowers rarely have leaves perfectly opposite each other, so stagger them for a natural feel.
If you plan to use these flowers for wall decor, you can skip the stem altogether and glue a small felt circle to the back. That way the flower lies flat against the wall and does not wobble. Both methods work well, so choose based on your project.
Five ways to use your finished paper flowers
Once you have made a handful of blooms, you will want to display them. Here are some practical ideas that go beyond the obvious vase arrangement:
- Glue a ring
#paperflowers #papercrafts #diyflowers #homedecor #crafttutorial
Leave a Comment