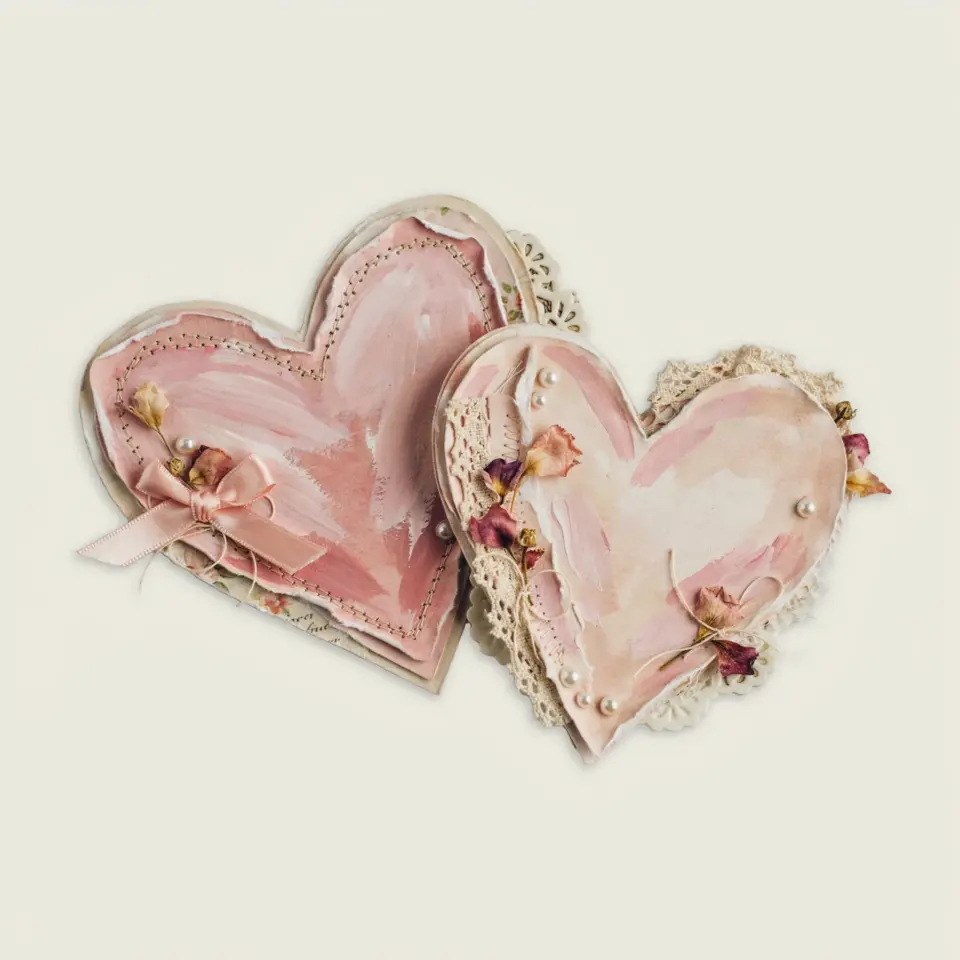
If you are new to scrapbooking paper crafts, the biggest worry is usually cost. I get it. Those beautifully curated pages on Pinterest look like they require a craft room full of expensive dies, cutters, and specialty papers. But the truth is, you can create a polished scrapbooking layout for under five dollars using materials you probably already have at home. This step by step guide focuses on simple, budget friendly ideas that look intentional and finished, not thrown together. No fancy tools required, just layered papers, basic embellishments, and a little patience. Let me show you how to build a scrapbookingpapercrafts page that tells your story without breaking the bank.
Choose a simple color scheme from your photos
Before you cut a single piece of paper, pull two or three colors from the photo you want to feature. This trick makes your layout look cohesive instantly. For example, if your photo has a bright blue sky and green grass, pick a light blue cardstock for your background and a muted green for a mat. You do not need a full collection pack. Just grab one or two sheets from your stash or buy single sheets at a craft store for fifty cents each.
Sticking to a limited palette also prevents that messy, cluttered look that beginners often worry about. You can mix patterns as long as they share at least one color. A polka dot paper with the same blue as your photo feels intentional, not random.
Layer two or three papers for instant depth
The easiest way to get that polished look without expensive tools is to layer plain and patterned papers. Start with a 12×12 inch base sheet. Then cut a second piece about 11×11 inches and a third piece about 10×10 inches. Stack them slightly offset so each layer peeks out. This creates a natural border that frames your photo beautifully.
You do not need a paper trimmer. Use scissors with a steady hand or tear the edges for a softer, more rustic feel. Tearing paper is free and adds texture. I actually prefer torn edges on budget layouts because they hide uneven cuts and look handmade in a good way.
- Base layer: solid cardstock in a neutral tone like cream or light gray.
- Middle layer: a subtle pattern like tiny stars or thin stripes.
- Top layer: a contrasting solid that matches your photo accent color.
Use everyday items as embellishments
Store bought stickers and epoxy dots add up fast. Instead, look around your house for free or cheap alternatives. Buttons from an old shirt, a torn map, cancelled postage stamps, or even dried flowers from a walk work perfectly. I once used a scrap of fabric from my grandmother’s apron as a banner, and it became the most meaningful part of the whole layout.
If you want a little shine, use metallic gel pens to draw simple dots or outlines around your photo. A single pen costs about two dollars and lasts for dozens of pages. You can also punch small circles from leftover scraps and glue them in a cluster near the corner. Those little circles mimic expensive enamel dots for pennies.
Write a short journaling block on plain paper
Every memory page needs words, but you do not need fancy journaling cards. Cut a rectangle from white printer paper, about 3×4 inches, and ink the edges lightly with a brown pencil or eyeshadow if you have no ink pad. Scribble a few sentences about the moment in the photo. Handwriting adds authenticity that typed text cannot match.
If your handwriting is messy, write on a separate piece, cut it out in a neat block, and glue it down. You can also type on paper and tear the edges. The key is to include the date and a short feeling or memory. That personal touch is what makes diyscrapbook projects special.
Anchor the layout with a simple border or tape
Washi tape is cheap, forgiving, and adds a finished edge without glue spills. Run a strip of washi tape along the top and bottom of your base paper, or use it to create a small photo frame. You can find multipacks of washi tape at dollar stores for around three dollars. Choose colors that match your two or three tone scheme.
Another budget trick is to draw a thin line around the entire page using a fine tip marker. A simple border cost zero extra if you already own a black or brown pen. It visually contains the elements and makes the layout look complete. I always do this last because it hides any uneven edges from layering.
Test your layout before gluing anything
This step saves both paper and frustration. Arrange all your pieces: photo, layered papers, embellishments, and journaling block on the base page. Move them around until the composition feels balanced. Step back. Take a photo with your phone to see it from a distance. Adjust until you are happy.
Only then pick up one piece at a time, apply glue stick or a tape runner, and press it down. Most beginner mistakes happen from gluing too fast. I keep a small box of repositionable adhesive dots for exactly this purpose. You can lift and move a piece a few times before the dot loses stickiness. That flexibility helps when experimenting with papercraftideas on a budget.
Add visual interest with simple cuts and folds
You do not need a cutting machine to create interesting shapes. Fold a strip of scrap paper into a tiny accordion fan and glue it behind your photo for a pop up effect. Cut triangles from leftover paper to make a banner. Punch or cut simple flowers from a single sheet of double sided patterned paper. Fold the petals up for dimension.
These techniques take just a few minutes but add the kind of texture that makes a layout look thoughtful and custom. A friend once told me her favorite page of mine used only three pieces of paper and a hand drawn border. It
#scrapbookingpapercrafts #papercraftideas #scrapbookinglayout #diyscrapbook #papercraftingtips
Leave a Comment