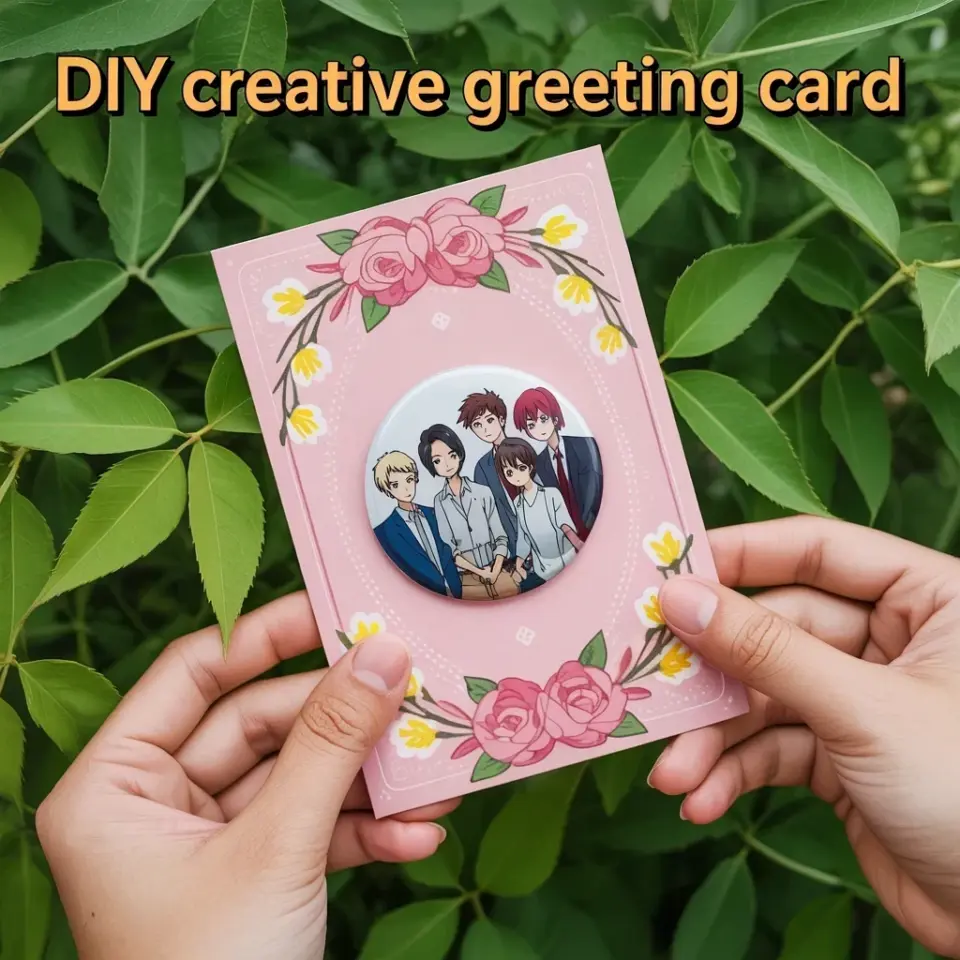
Sometimes the best gifts don’t cost a lot, and this DIY ‘Reasons Why I Love You’ box proves it. I made mine from cardstock, a glue stick, and honestly, a pile of paper scraps I was about to toss. It took under an hour. The result? A tiny treasure chest filled with handwritten notes that my partner actually teared up over. Not gonna lie, that felt better than any store-bought fancy candle or overpriced chocolate box ever could. And with Valentine’s Day just around the corner (or maybe you want a random Tuesday surprise), this is your sign to grab some paper and get started.
Why a Cardstock Gift Box Beats Store Bought Options Every Time
Look, I have nothing against a nice gift bag. But those foil-stamped cardboard boxes from the drugstore? They cost ten bucks and fall apart by the time you add the tissue paper. A cardstock box you make yourself is sturdier than you think. Use a heavier weight (like 65 lb or so) and it holds up like a champ. Plus, you control the size, the color, the whole vibe.
Another thing: store bought gifts scream “I grabbed this while buying milk.” A handmade box screams “I sat at my kitchen table, cut stuff, and thought about you.” That emotional weight matters. My sister still keeps the one I made her three years ago. It sits on her dresser. She moved twice and it survived both moves. Cardstock is tougher than people give it credit for.
And honestly, the budget part is huge. For about two dollars worth of materials (less if you already have a glue stick and old paper), you get a gift that feels incredibly personal. That’s a way better return on investment than a stuffed animal from a gas station.
Gathering Your Supplies Without Breaking the Bank
Here’s what you need, and I mean really need. Not a list from a craft store that wants your entire paycheck:
- Cardstock – One sheet for the box, one for the lid. Extra if you want a patterned one. Dollar tree sells packs.
- Glue stick – Not liquid glue (it warps the paper). Elmer’s purple works, dries clear.
- Scraps of pretty paper – Old wrapping paper, magazine pages, leftover scrapbooking bits. Anything works.
- Stickers or a small stamp – I used heart stickers from a set that cost 99 cents at Target. You could also freehand draw hearts, nobody’s grading for perfection.
- A pen – One that doesn’t bleed through. I like a fine-tip Sharpie for small handwriting.
That’s it. No scoring tool, no bone folder, no fancy paper trimmer. Scissors work if you’re patient. I actually used a kitchen knife once because I couldn’t find scissors. It was a mess. So find your scissors first, okay?
How to Make the Box Structure Using Just Cardstock and Glue
I am not going to pretend I invented a new origami fold here. This is a basic four-corner box, the kind you probably made in elementary school but forgot. You cut a square, fold each corner to the center, then create walls. Here’s the trick: make the base square about 6 inches by 6 inches. The lid needs to be a quarter-inch bigger on each side so it slides on nicely.
So for the lid, cut a 6.5 inch square. Fold each edge up by about 1 inch. Glue the corners together to form the little walls. It sounds fiddly, but once you do one corner, the rest click into place. My first attempt looked like a sad, lopsiced potato. But I used the glue stick to reinforce the folds, held it for ten seconds, and suddenly it was a real box. A bit smushed, but functional.
If you want a more polished look, run your fingernail along the folds before gluing. That crisp crease makes everything stand up straight. I don’t own a bone folder. My fingernail works fine. But I have chipped nail polish now. Fair trade.
Filling It with Handwritten Notes That Actually Matter
The box is just the container. The real gift is the notes inside. And here’s where I get a little particular. Do not write generic stuff like “you’re nice” or “I love your smile.” Go specific. Remember that time they brought you soup when you were sick? Write that down. The way they laugh at their own dumb jokes? Put that in a note.
I made thirty tiny slips of paper, each about the size of a fortune cookie slip. Cut them from leftover cardstock edges. I wrote things like: “That Tuesday you made me scrambled eggs at midnight,” and “You always let me pick the movie even when I pick something terrible.” It took maybe twenty minutes. The act of writing forces you to really think. That’s the point.
You can also fold them into little hearts or stars if you feel fancy. I don’t. I just fold them in half so they fit in the box. My partner spent an evening pulling them out one by one, reading out loud. That was better than any present I ever wrapped.
Decorating with Scraps and Stickers (No Talent Required)
I am not an artist. Stick figures are a stretch for me. So I cheat with materials. I glue pretty paper scraps to the outside of the box. You can cover the whole lid in patterned paper, or just make a band around the sides. I used a strip of floral wrapping paper left over from Christmas. It had little oranges on it. Not exactly romantic, but it worked.
Heart stickers go on the lid and on the front edge. Three small ones. Done. You could also use a rubber stamp with a message like “Reasons I love you” directly on the box. But I don’t own a stamp. I wrote it in black pen with slightly shaky handwriting. It looks handmade. Which is the whole vibe.
If you want to get a little messy, try adding a thin layer of glue on top of the paper and sprinkling glitter over it. Warning: glitter gets everywhere. My cat was sparkly for a week. So unless you want a disco cat, maybe skip glitter. Use washi tape instead. It’s clean and forgiving.
Why This Gift Works for Any Occasion, Not Just Valentine’s Day
Valentine’s Day is the obvious hook, but honestly, I think this box is perfect for anniversaries, birthdays, or a “just because” moment. My brother made one for his girlfriend when she had a rough week at work. She cried happy tears. It didn’t matter that the box was a little crooked and he wrote on Post-it notes because he ran out of cardstock.
Change the decorations to match the event. For a birthday, use gold stickers and write “Reasons you’re amazing.” For a friendship gift, swap hearts for stars and call it “Why you rock.” The structure stays the same. The cost stays low. The thoughtfulness stays sky high.
And here’s a weird little detail: I keep a stack of these boxes pre-cut. Just the cardstock squares, folded and ready. So when a birthday creeps up on me (which it always does), I can assemble one in ten minutes flat. The notes take longer, but that part is the good kind of slow.
So go ahead and dig out that old scrap paper. Use the glue stick that’s been dried out in your drawer – no wait, get a fresh one. Seriously, dried glue sticks are the devil. I learned that the hard way. Fresh glue stick, a little patience, and a lot of heart. That’s the recipe for a gift that costs next to nothing but feels like a million bucks.
When you finish yours, tuck it under their pillow or leave it on the kitchen counter with a note that says “open when you need a reminder.” Then watch what happens. It’s cheap, simple, and honest. The best kind of love language.
Leave a Comment