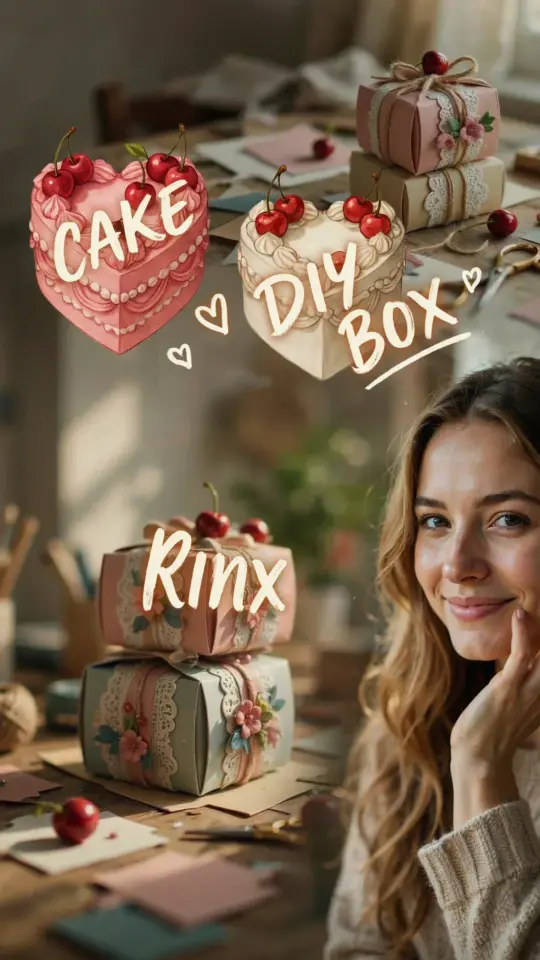
The Materials You Need for This DIY Project
Ok so I have to confess I never really thought a cake jewelry box would be something I could make myself. But here we are. I was scrolling Pinterest one night, saw this aesthetic fake cake that opens up to hide rings and earrings, and honestly my brain short-circuited. Not gonna lie I bought the supplies before I even finished watching the tutorial. Look if you have zero experience with paper crafts like me don’t worry. This project is forgiving. You really only need a few things.
- Heavy cardstock (250gsm or thicker, I used ivory and a dusty rose)
- A craft knife and cutting mat (or scissors if you’re patient)
- Glue that dries clear (I hate Tacky Glue because it stays tacky for hours, actually I prefer Beacon 3-in-1 but that’s a weird brand so use what you have)
- A ruler for scoring folds (a bone folder is nice but the back of a butter knife works)
- Optional but recommended: a circle cutter or compass. Otherwise you’ll be freehanding circles and let me tell you that gets ugly fast.
One random detail: I used a cardboard tube from a roll of wrapping paper to make the little inner walls. It felt cheap but it worked perfectly. That’s the thing about this project – you can substitute a lot of stuff and it still looks good.
Cutting and Scoring Your Fake Cake Layers
This is where most people get intimidated but I promise it’s just circles. A stack of circles. You need three different sizes for a tiered cake look: a big base (like 6 inches across), a medium middle (4.5 inches), and a small top (3 inches). For each tier you’ll need two identical circles for the top and bottom of that tier, plus a long rectangle for the side wall. The rectangle’s width equals the tier’s height (say 1.5 inches) and its length equals the circumference of the circle plus a tiny overlap for gluing.
Honestly measuring the circumference is the most annoying math part. But here’s a shortcut: multiply the diameter by 3.14 and add half an inch. That’s it. Cut your rectangles. Then score them lengthwise at half the height – no wait, you don’t score them for folding, you score them for the lid lip. I’m getting ahead of myself.
Anyway cut your circles. I messed up my first one because I used a craft knife freehand and ended up with a wobble. So I switched to a compass with a blade attachment. Game changer. If you don’t have one just trace a bowl or plate and cut carefully. It’s fine. Not everything has to be perfect – your fake cake will look handmade in a charming way, not a sloppy way.
Assembling the Cake Jewelry Box Base
Take your biggest circle and the matching rectangle. Glue the rectangle upright around the edge of the circle. This forms the outer wall of the bottom tier. Important: don’t glue the rectangle to the circle yet. First glue the rectangle into a ring by overlapping the ends. Then attach the ring to the circle. This saves you from weird wrinkles. Trust me I learned that after a frustrating 20 minutes.
Now you have an open cylinder. Repeat for the middle and top tiers. Stack them loosely to see how they fit. You’ll notice the top of each cylinder is open – that’s where the jewelry will go. So for the bottom and middle tiers, you need to add a floor. Cut another circle slightly smaller than the tier’s diameter and glue it inside, about a quarter inch from the bottom. This creates a hidden compartment. Pro tip: make the floor sit a little low so you have room to hide earrings underneath the tier above.
But here’s the thing – for the top tier you actually want a lid. So don’t glue a floor into the top tier. Instead you’ll make a separate inner ring that fits loosely. That ring becomes the lid. I’ll explain that in a minute because my brain works best in tangents.
How to Decorate for an Aesthetic Finish
Now the fun part – making it look like a real cake that you’d want to cry over. I used a combination of paper icing (cut scalloped strips), tiny paper flowers, and a few pearl beads hot glued on. But you could do anything: gold foil, lace, even real dried flowers if you seal them with a little spray varnish so they don’t crumble.
Let me tell you about my weird little mistake. I tried to use actual frosting from a piping bag. Big no. The cardstock got soggy within 10 minutes and my whole cake jewelry box warped. So stick with paper, glue, and maybe some texture paste if you want a frosting look that dries hard. Seriously just buy a bottle of white dimensional fabric paint and pipe it on. It dries puffy and shiny like royal icing. I found this out after my soggy disaster. Anyway.
For a clean aesthetic look I kept my color palette simple: cream, blush, and a pale gold. Less is more with fake cakes. If you add too many different colors it starts looking like a kid’s toy. Focus on one or two accent colors and repeat those in the flowers, the icing scallops, and maybe a little banner.
Adding the Hidden Lid and Ring Holder
Ok so back to that lid for the top tier. You need a ring of cardstock that fits snugly but not tight into the top cylinder. The ring should be about 1 inch tall. Glue a small circle (slightly smaller than the top tier’s diameter) onto this ring to create a lid. Now here’s the clever part: you glue the lid’s ring into the top tier but you leave the small circle as a trap door. Wait that’s not right. Let me think.
Actually the simplest method is to make the top tier as a separate box with its own lid. So you build the top tier as a cylinder with a bottom floor. Then you cut a circle that’s a quarter inch larger than the top tier’s outer diameter, glue a short ring onto it, and that ring sits over the top tier like a hat. When you lift the hat, you access the inside of the top tier. That’s where you put your rings because the space is shallow and perfect for ring bands.
For earrings, use the middle and bottom tiers. Cut a strip of foam or thick felt and glue it inside the wall of those tiers. Poke your earring posts into the foam. They stay hidden when you stack the tiers on top. I actually used a wine cork cut into thin slices for extra cushioning. Weird but works. You can also glue a small ribbon loop inside so you can lift the tier out. Again, necessity breeds weird hacks.
Why This Makes Such a Great DIY Gift Idea
Honestly this cake jewelry box is the gift you give someone when you want to show you put in actual effort but without spending a ton of money. Mother’s Day, birthday, bridesmaid proposal – it fits all those. And because it’s handmade from cardstock, it’s lightweight for shipping if you’re sending it out. I made one for my friend’s 30th and she cried. Not exaggerating. She put her grandmother’s pearl earrings in it immediately.
It’s also a good project if you’re bored on a rainy weekend and want to make something that lives on your dresser and makes you smile every time you walk past. And yes you can totally change the size to hold bracelets or a watch. I made a mini one for a necklace once and it was fiddly but cute. The recipe is the same: just scale the circles up or down.
So if you’ve been sitting on the fence thinking this looks hard, just try it. Start with two tiers instead of three. Use scrap paper first to practice. The first one might be a little wonky. But the second one? That’s the one that’ll make you stare at it and whisper oh my god I made that. That’s the feeling. Go make your own cake jewelry box. You got this.
#cakejewelrybox #diyproject #fakecake #aestheticdiy #diygiftideas
Leave a Comment