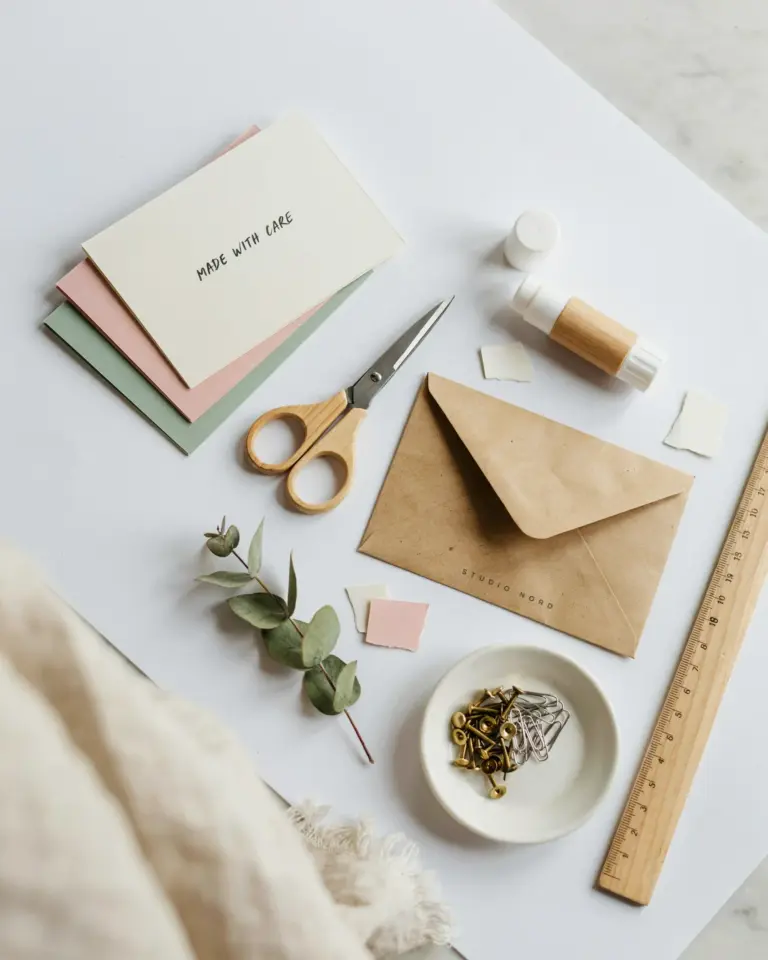
Valentine’s Day is almost here, and if you are tired of the same generic drugstore cards, it is time to make something that actually means something. A cardstock love letter is a simple but powerful way to tell someone you care. By layering cutout words and delicate paper shapes, you can create a handmade note that feels personal, elegant, and nothing like a store bought card. Plus, this project uses basic supplies and takes less than an hour from start to finish.
Why a Handmade Card Beats a Store Bought One This Valentine’s Day
There is a reason handmade paper crafts are having a moment right now. People are looking for slower, more intentional ways to show love, especially after years of digital everything. A store bought card might have a nice design, but it comes from a shelf. A diygreetingcard made from cardstock carries your time, your effort, and your exact words. That is hard to beat.
The trend this season leans toward minimalism with a personal touch. Thin layers of colored paper, clean typography, and a single handwritten message feel more modern than glitter and frills. It also fits the growing interest in sustainable gifting. You are not throwing away plastic packaging or mass produced mail. You are making something that can be kept forever.
Materials You Need for This Paper Craft Project
You do not need a big craft room or expensive tools. Here is what I used for my own love letter card:
- Cardstock in two or three colors (I went with ivory, dusty rose, and a deep burgundy for a 2025 trend feel)
- A sharp craft knife and a self healing cutting mat
- Paper glue or a glue tape runner (liquid glue can warp thin paper)
- A ruler and a bone folder for crisp folds
- A fine tip pen or calligraphy marker for the note
- Optional: a small heart punch or decorative scissors
If you do not have a craft knife, you can use small scissors, but a knife gives you cleaner edges for the cutout letters. I also recommend buying a pack of mixed cardstock from a brand like American Crafts or Recollections. They hold up well to cutting and layering.
Step by Step: Cutting and Layering Your Cardstock Design
Start by choosing a word or short phrase for the front of the card. Something like “Love,” “You,” or “Forever” works well. I used the word “Always” in a simple serif font. Print the word in a large size on regular paper, then trace it onto your chosen cardstock. Or if you are confident, freehand it with a pencil.
Cut out the letters carefully with your craft knife. Take your time on the inside curves, like the hole in an “A” or “O.” Place the cutout letters onto a slightly larger background piece of cardstock. Leave a small margin around each letter so they pop visually. You can layer them flat or add foam tape between layers for a shadow effect.
Once the front design is glued down, fold a full sheet of cardstock in half to create the card base. Attach the layered piece to the front. This is where you can get creative with alignment. I centered mine but offset it slightly toward the top to leave room for a tiny heart cutout in the lower corner.
Tips for Writing the Actual Love Letter
The outside of the card is beautiful, but the inside is what matters most. A loveletter does not need to be long or poetic. Write about a specific memory from the past year, something small that made you smile. Mention a detail only the two of you know, like that time you laughed at a failed recipe or the way they always leave the coffee cup in the sink.
I like to write the note in pencil first, then trace it with a fine tip pen. This
#cardstockdiy #loveletter #papercrafts #valentinesday #diygreetingcard
Leave a Comment