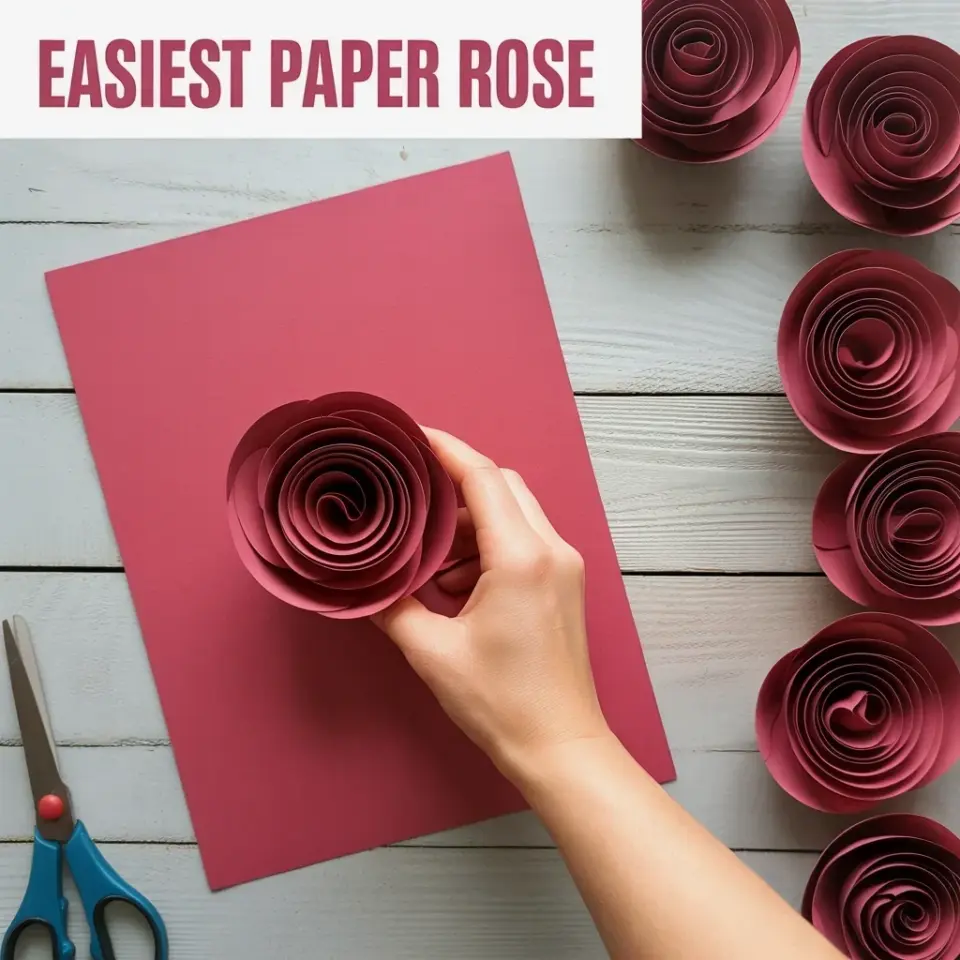
If you have ever tried to make a DIY cardstock gift idea for someone special and ended up with a floppy card, a gluey mess, or a design that just looked sad, you are not alone. I have been there too. Handmade Valentine’s Day crafts sound simple in theory, but small mistakes can turn a thoughtful project into a frustration. The good news is that most of these problems are easy to fix once you know what to watch out for. This guide walks through the most common blunders people make with cardstock gifts and shows you exactly how to avoid them so your handmade card actually looks like something you would buy at a nice shop.
Choosing the Wrong Cardstock Weight for Your Project
The number one mistake I see, and the one I made for years, is grabbing any old paper from the craft drawer. If the cardstock is too thin, your card will flop and feel cheap. If it is too thick, it will crack when you fold it or won’t fit through your printer. For most flat cards, go with 65 lb to 80 lb cover weight cardstock. That is the sweet spot for folding and writing with a pen without ink bleeding through. For pop-ups or layered 3D elements, use 100 lb to 110 lb so the structure holds its shape. Avoid anything labeled construction paper or copy paper for a gift-worthy result.
Why Your Folds Look Messy and How to Fix Them
Nothing screams homemade louder than a crooked, wrinkled fold. The typical mistake is just pressing the paper on your lap or a soft surface. Cardstock needs a clean, sharp crease. Use a bone folder or the back of a butter knife to score the fold line first. Place a ruler along the line and run your tool gently over the paper. This compresses the fibers and gives you a straight, crisp fold every time. Another trap is folding too fast. Slow down, align the edges carefully before you press, and you will see a huge difference.
Getting Clean Cuts Without Ragged Edges
You might think scissors are fine, and sometimes they are. But for straight lines and small shapes, they often leave fuzzy edges or slight curves. The mistake is not using the right tool. A paper trimmer gives perfect straight cuts for card bases and layers. For intricate shapes like hearts or letters, use a sharp craft knife with a fresh blade on a cutting mat. Dull blades tear the cardstock fibers. Also, press the blade firmly but not too hard, and change the blade after a few projects. If you see white fuzz along your cut line, replace it immediately.
Picking the Wrong Glue or Overusing It
Glue disasters are probably the most common reason a handmade gift ends up in the trash. Liquid glue that dries too slowly can cause paper to warp. Hot glue forms lumps and strings. The better choice is a glue stick that is acid-free and designed for cardstock, or double-sided tape. For small details, use a fine-tip glue pen. The mistake is applying too much adhesive. A thin, even layer is plenty. If you see bubbles or oozing, you used too much. Practice on scrap paper first. And always let tape set for a few seconds before sticking down the piece.
Designing Blindly Without Considering the Recipient
A common trap is making one design and calling it a day. But what works for her might feel impersonal or awkward for him. The mistake is using flowers, pastels, and delicate patterns for everyone. For a masculine cardstock gift, think clean lines, darker tones like navy or charcoal, and geometric shapes. Add a pop of metallic gold or a simple leather accent. For her, softer colors like blush or lavender with layered paper flowers work well, but avoid making it too busy. The key is not to guess. Think about their favorite colors, hobbies, or a shared memory. That personal touch matters more than any fancy fold.
Skipping the Practice Run for Sentimental Messages
You spend all this time on the cardstock construction and then scribble a rushed message at the end. That is a mistake. Handwritten words can make or break the gift. The trap is writing directly on the card without planning. Ink smudges, crooked lines, or crossed out words look sloppy. Instead, write your message in pencil first on a scrap piece of paper. Then trace it lightly onto the card and go over it with a fine-tip pen. Or use a separate insert card so you can rewrite if needed. Make the message specific. Mention a memory, an inside joke, or a trait you genuinely admire. Generic phrases like you are the best feel empty. Real details feel like love.
Neglecting the Small Finishing Touches
The last mistake is stopping too soon. A flat card with no envelope decoration or outer detail looks incomplete. The fix is simple: add a liner to the envelope using a contrasting piece of thin cardstock. Or stamp a small heart on the back flap. For the card itself, consider a slight corner rounder for softer edges, or a thin border drawn with a metallic pen. These tiny extras take five minutes but lift the whole project from looks handmade to looks handcrafted. Do not overdo it. One or two thoughtful details are enough.
Crafting with cardstock should feel enjoyable, not frustrating. When you avoid these common pitfalls, your handmade Valentine’s Day gifts will look polished and truly personal. The best part is that you do not need a ton of expensive supplies. Just the right paper, a bit of patience, and a willingness to slow down. Next time you sit down for a craft session, keep these tips in mind. You will end up with a card that feels worth giving, and that is the whole point.
#HandmadeGifts #DIYIdeas #CardstockCrafts #GiftIdeas #Handcrafted
Leave a Comment