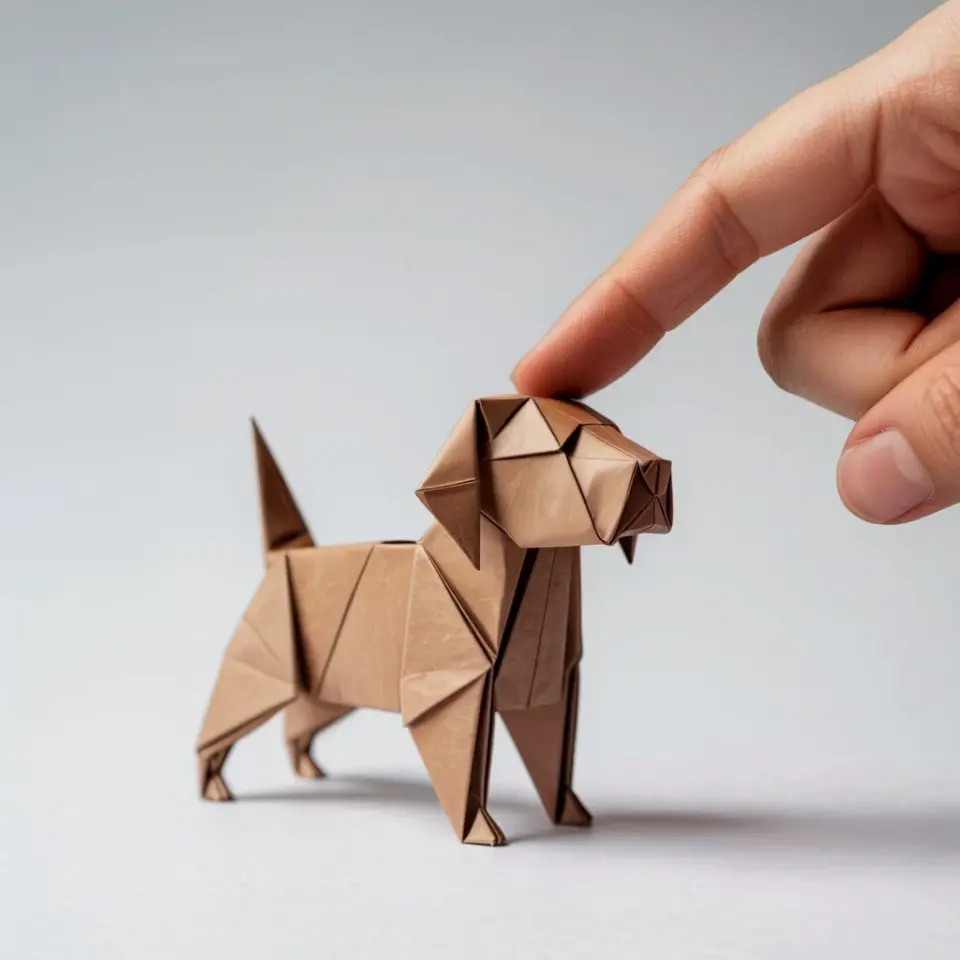
You have probably folded a thousand paper cranes and still wondered why one wing always looks defeated. I have been there too, and the culprit behind almost every wonky origami project is painfully simple. It is the origamimistake of rushing that very first fold, the foundation that decides whether your paper craft ends up sharp or sad.
Why the first crease ruins everything
Look, origami is a game of millimeters. If your base crease is off by even a tiny bit, that error gets copied and multiplied with every subsequent fold. By the time you reach step 14, your model looks like it survived a fight with a paper shredder.
I used to think I was just bad at origami for beginners. Turns out, I was just impatient. I wanted the finished fox or lotus flower so badly that I skipped the careful alignment and paid for it later.
Pre-creasing: the boring step that saves your project
Here is the thing nobody tells you when you start paper folding. The guide lines printed in diagrams, from origamitips blogs to traditional books, are not merely decorative. They show you exactly where to press, but you need to pre-crease along them first.
Pre-creasing means making a light fold along the line, unfolding it, and then making the real fold. That extra five seconds of work makes the final fold snap into place with satisfying precision.
And honestly? It feels magical when it happens.
My weird obsession with crease marks
Ok so, I have a mild confession to make. I keep a cheap metal ruler on my desk even though I never measure anything with it. I use it to press down on my pre-creased lines. It gives me a sharper edge than my fingernail ever could.
This is probably overkill for most people. But if you are the type who hates crooked stars and lopsided envelopes, you understand.
A blunt fingernail works fine, honestly. The ruler is just my little quirk.
How to fix a small misalignment before it spirals
You realize halfway through step 6 that your edges are not meeting perfectly. Do not keep going. This is the critical moment where most crafters make the situation worse.
Here is a practical fix that actually works:
- Unfold your last two or three folds carefully, do not yank them.
- Re-align the edges by looking through the paper against a light source if needed.
- Re-crease with a lighter touch, then press firmly on the corrected line.
- If the paper looks crumpled, accept it and start that section fresh with a new square.
That final bullet point is the hardest lesson. Sometimes you just need to walk away and start over. It is paper, not a tattoo.
The symmetrical paper folding trick most people skip
Rushing the first fold is the biggest origamimistake, but rushed pre-creasing is the close second. When you skip the guide lines and just eyeball it, you lose symmetry before you even begin.
I tell my friends who try origami for beginners to use origami paper with printed pattern lines, at least at first. The printed texture hides small mistakes, but more importantly, it teaches your hands what straight feels like.
This is the exact papercrafts advice I wish someone had given me back when I folded my first sad frog. I spent an entire afternoon making frogs that only hopped sideways.
Nobody wants a sideways hopping frog, trust me.
Tools that make paper folding easier
You do not need expensive gadgets. A flat table surface, a bone folder or a pen cap, and decent lighting are enough. The surface matters more than you would expect because soft surfaces absorb your pressure and make the crease fuzzy.
Use a hard cover book or a cutting mat if your table is textured. And please, please, do not use old receipts or flimsy memo paper. It tears, it fades, and it makes your origamitips useless because the folds simply will not hold.
Proper origami paper is thin but strong. It is surprisingly cheap if you order it in bulk, and the crispness of the folds will change your whole opinion about this hobby.
The mental shift from perfection to precision
You do not need to be perfect at origami. You need to be precise with your movements and patient with the process. There is a difference, and learning it made me actually enjoy paper folding instead of cursing at a pile of crumpled squares.
When you stop viewing pre-creasing as a chore and start seeing it as a favor to your future self, everything changes. The first fold becomes the calm moment, not the scary one.
And if you mess up, you mess up. You try again, you pay attention to the guide lines, and you remember that even a bent paper crane carries a little bit of your stubbornness inside it.
That is the beauty of this craft, honestly. Every mistake teaches your fingers something.
Final reminder before your next fold
Grab a fresh square of paper, find your guide lines, and press that first crease with intention. Spend the five extra seconds to pre-crease. Your final model will look ten times sharper, and you will finally understand why all those old origamitips articles repeat the same advice.
So go ahead, fold something wonky on purpose if you want. Just know that the fix was never about talent. It was always about slowing down and respecting the paper.
Have you ever saved a project from a bad first fold? I would love to hear how you did it, tell me in the comments if you feel like sharing. Happy folding, friend.
Leave a Comment