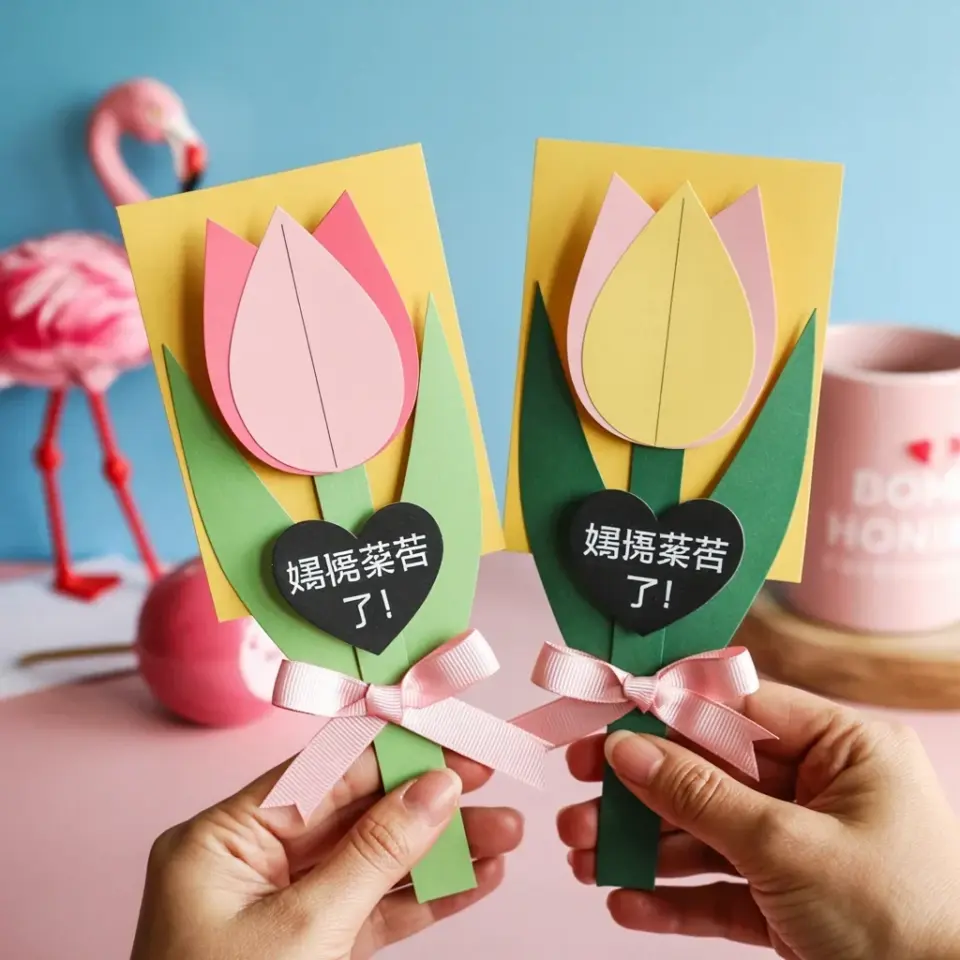
The last time I made a card with a leaf print, I had paint on my elbows and a very patient dog waiting by the back door. It was one of those quiet Sunday afternoons where the house finally got still, so I grabbed a few maple leaves from the yard and a sponge brush. That first print, the one with the slightly smudged edge, became my favorite of the whole batch. Leaf printing stationery has a way of making you slow down, and honestly, that’s the whole point of it.
There is something deeply satisfying about turning a found leaf into a one-of-a-kind card or sheet of wrapping paper. You don’t need a fancy press or a stack of specialized tools. You just need some paint, paper, and a bit of curiosity about what the veins on a fallen oak leaf will look like when you press them down. Every single print is a tiny surprise. Here is a curated roundup of ideas to get you started, broken down by theme so you can pick a direction and run with it.
Choosing the Right Leaves for Clear Prints
Thick, flat leaves are your best friends for this craft. Look for leaves with pronounced veins, like maple, oak, or rose leaves, because those details show up beautifully on paper. Freshly fallen leaves that are still slightly supple work better than brittle ones, which crack under pressure. If you are foraging on a damp morning, pat them dry with a paper towel first. You want the surface clean and dry so the paint adheres evenly.
Now, a quick word on flowers. They are tempting, but they are also a pain. Pressed petals like pansies take paint unevenly, and they can shred the moment you lift them off the page. Stick to leaves for the main event. If you really want a flower shape, use a leaf with a similar silhouette, like a geranium or a shamrock. Your fingertips will thank you.
Basic Leaf Printing Technique for Handmade Cards
Ok so, the process is simpler than you think. Paint the veined underside of the leaf, that is the side facing down on the tree, with a thin, even coat of craft paint. Acrylic craft paint is the easiest medium to start with because it stays where you put it without dripping everywhere. Once the leaf is coated, lay it paint-side down onto your card stock. Cover it with a clean piece of scrap paper and press firmly.
Here is the trick most tutorials skip: press with the flat of your hand. Do not wiggle, do not rock, just push down evenly for about ten seconds. Then peel the leaf away slowly from one stem edge. The first print might be a little patchy, and that is genuinely fine. That patchy quality is what gives handmade cards their charm, a perfectly uniform print might as well be a store-bought sticker.
Experimenting with Color and Paint Textures
Do not limit yourself to plain green paint. A classic green stamp is lovely, but a deep burgundy or a soft gold can look incredibly elegant on cream-colored card stock. I have a mild obsession with mixing a dab of metallic gold paint into a dark green to get an olive shimmer, it never quite looks like anything you could buy. Use a foam brush to get a smooth coat, but leave the edges of the leaf slightly bare, which creates a lovely outline effect when pressed.
If you want a more delicate, botanical look, try a technique called “ghost printing.” Press a painted leaf onto paper once, then press it again without adding any new paint. The second print is fainter and almost watercolor-like, perfect for layering underneath a sharper print of the same leaf. Layering a few of these faded prints behind a bold one makes your design look much more intentional. It gives the whole piece a collected, herbarium feel.
Making Gift Tags and Decorative Labels
Gift tags are the perfect small-scale project if you are new to leaf printing stationery. Cut your card stock into small rectangles, punch a hole in one corner, and then print a single leaf in the middle. You can write the recipient’s name directly on the tag afterward, or leave it blank and let the leaf speak for itself. These tags look fantastic tied with simple baker’s twine or a scrap of wool yarn.
Here are a few ideas to make your tags feel like a curated set rather than random crafts:
– Print a single, large leaf for a bold and minimal statement.
– Use several different small leaves, like birch or alder, arranged in a loose cluster.
– Stamp a leaf on the back of the tag with a personal handwritten note, it feels like a secret.
– Keep a color palette and repeat it across all your tags so they belong together.
Whatever you pick, let the tags dry for a full half hour before you handle them too much. Acrylic paint can smear if you get impatient, and nothing ruins a good session like a smudged edge. Ask me how I know.
Creating Wrapping Paper from Brown Kraft Paper
It turns out, printer paper is too flimsy for this, and glossy paper is a nightmare. But brown kraft paper? It’s a dream. The natural color of the kraft paper absorbs the paint nicely and lets the leaf texture take center stage. Roll out a decent length of paper on a flat table, tape the corners down, and stamp your leaves in a scattered pattern. A grid looks neat, but a loose, uneven arrangement feels more organic.
The trick to wrapping paper is to vary your leaf placement and sizing. Use a giant maple leaf for a main feature, then fill the gaps with smaller sprigs of rosemary or thyme from the kitchen. Wait a few minutes between prints so your hand does not smudge the wet paint. When you are done, let it dry completely before folding it into shapes for storage. When you wrap a present in it, the recipient will probably hold the paper up to the light before they even look at the bow.
Pressing and Preserving Extra Leaf Shapes
You might want to prep your leaves in advance so you are not hunting for them mid-creative-flow. Press them inside a heavy book for a few days, this flattens them out and makes them much easier to paint. The downside is that they get a bit delicate, so handle them by the stem and never rush the peeling process. I keep a dedicated phone book in my craft room just for leaves, with the pages marked so I remember what is where.
Another thought: keep a small box of promising leaves in your bag for spontaneous gathering. A weirdly perfect leaf from a parking lot or a park bench is all you need to start a new project. I have found that the best leaves are often the ones you do not specifically go looking for. They just show up, and then you are committed to making something out of them.
Final Thoughts on Your Leaf Printing Stationery
The beauty of this whole process is that perfection is not the goal. Two cards printed from the same leaf will never be identical, one might have a heavier vein impression or a lighter corner, and that is precisely why people treasure them. This craft is also incredibly forgiving. You can stamp over a failed print with a second leaf, or simply cut the paper down into a smaller tag and start over. There is very little waste and almost no frustration.
So, grab a handful of leaves on your next walk. I hope you try making a few cards or a roll of wrapping paper for your next gift-giving occasion. When you get the hang of it, I bet you will start seeing leaf shapes everywhere, and your stash of stationery will start to look like a proper little botanical collection. If you make something you love, I would love to hear how it turned out.
Leave a Comment