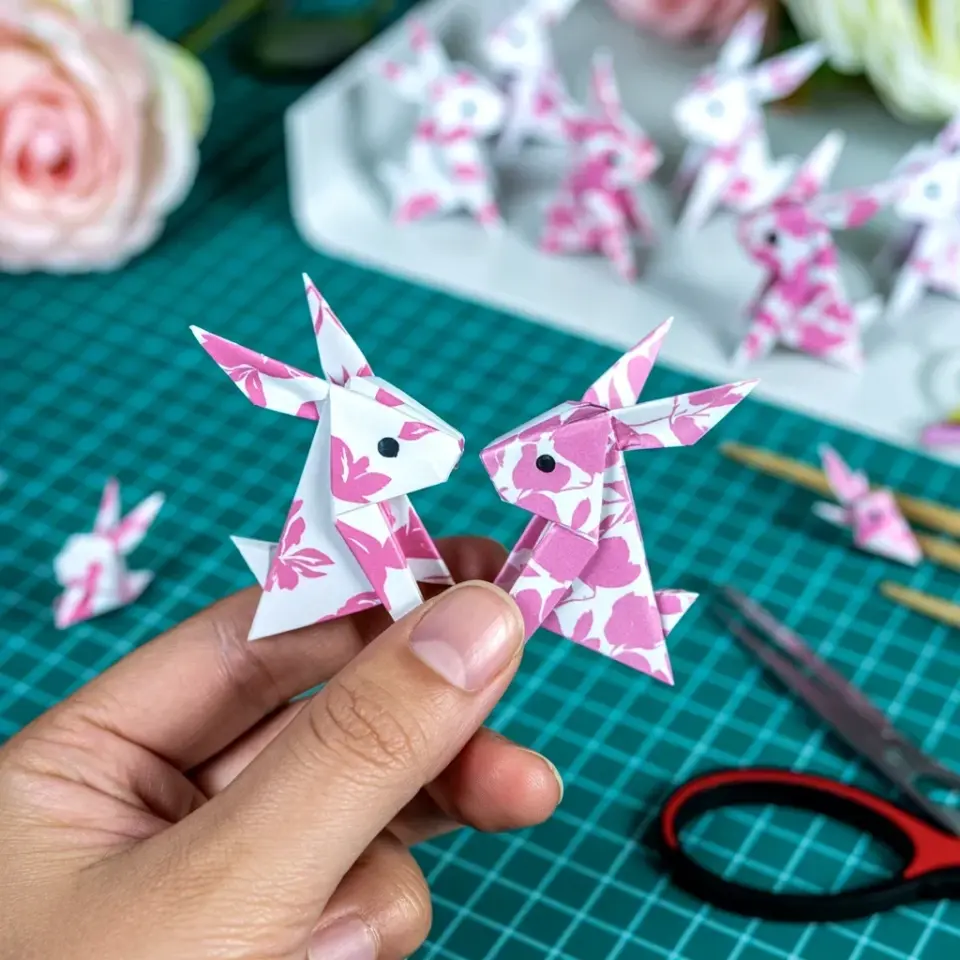
I have a confession to make. I spent an entire rainy Saturday hunched over my kitchen table, trying to paper fold a little rabbit, and every single attempt ended with a lopsided, crumpled mess that looked more like a mutant potato than a bunny. The body was fine, the folds were mostly in the right place, but the ears were a disaster. They were thick, bulky, and they kept popping open no matter how hard I pressed down with my fingernail. I was about to give up entirely until I stopped and actually looked at the paper in my hands. That was the moment I realized the problem wasn’t my technique, it was the material. I was using standard 20 lb printer paper because it was all I had in the house, and honestly, it ruins almost every delicate fold.
Origami is a papercraft that demands a specific touch. If you are sitting there right now with a stack of copy paper and a printed diagram, wondering why your tiny bunny looks deformed, I need you to stop what you are doing. Look at the paper you are using. Is it stiff and shiny? Does it resist your crease? That is your culprit. Printer paper has too much fiber and not enough give, making it absolute garbage for miniature details.
The real reason your paper rabbit ears are floppy
Here’s the thing: the ears on a folded bunny need to be narrow, pointy, and strong. To do that, you need to squash-fold a small flap of paper with precision. When you use thick paper, the layers pile up on top of each other, creating a fat, stubborn seam that refuses to stay flat.
The result is a pair of ears that stick out at weird, aggressive angles or unfold themselves the second you let go. It is deeply frustrating. I used to think my fingers were too clumsy for this hobby, but the truth was much simpler. My paper was fighting against me.
How lightweight paper changes the entire papercraft experience
Switching to proper origami paper (often called kami) is like turning on a light in a dark room. The paper is thin, usually around 60 to 70 gsm, which allows for multiple folds without bulking up. It holds a crease like a dream, snapping into place with a satisfying crispness.
The first time I tried my rabbit craft with the right material, my jaw actually dropped. The ears went from looking like chunky cardboard triangles to delicate, elegant points that actually tilted backward the way a real bunny’s ears should. I cannot stress this enough: the paper matters as much as the instructions do.
You can get a pack of double-sided origami paper at almost any craft store for a few dollars. It comes in squares, it is perfectly cut, and it is thin enough to allow for the intricate layering that rabbitcraft requires. That little investment saves you from throwing a chair across the room out of pure frustration.
The easy way to test your paper before you start folding
Before you even look at a tutorial, I want you to do a quick test. Take your paper and fold it in half. Unfold it and run your finger along the crease. Does the line feel sharp and defined, or is it soft and resistant?
Now, fold it in half again, and then try to fold that same piece in half a third time. If the paper starts to feel spongy or if the edges are getting fuzzy, put it away. You are holding the wrong material for a project with this much detail.
- Look for paper labeled specifically for origami (it comes in thin, smooth sheets).
- Avoid anything labeled as “cardstock” or “heavyweight” for tiny animal projects.
- Test the crease sharpness before committing to the full tutorial; it takes three seconds and saves you ten minutes.
What to do with your finished paper folding rabbit
Once you have the right paper and your rabbit finally looks like a rabbit, you might find yourself wondering where to put the little guy. I used to toss my successful folds into a drawer, but that feels like a waste of effort. Honestly, these tiny creatures look adorable perched on the edge of a bookshelf or tucked into the corner of a desk at work.
My favorite spot is on the dashboard of my car, which is weird because I usually hate clutter in there. But the little bunny catches the sunlight and the ears cast a tiny shadow, and it makes me smile when I am stuck in traffic. It is a tiny, silly token of patience.
If you want to speed up your folding process, watch a video tutorial while you do it. Pausing a real-time video for paper folding is much easier than decoding a static diagram, especially when you are trying to figure out the ear maneuver. Please learn from my mistake and look at the pile of ruined paper you have created. I genuinely felt like a failure until I recognized the root cause. There is no shame in it, but there is a fix.
One more origami rabbit tip that nobody mentions
Here is a weird thing I noticed during my journey: the temperature of your hands matters. If your hands are sweaty or warm, the paper absorbs the moisture and loses its stiffness. I started washing my hands with cold water and fully drying them before every session, and it made a noticeable difference.
Also, do not use a dull fingernail to make your creases. Use a bone folder if you have one, or the back of a pen cap if you don’t. That small tool helps you press down hard enough to set the fold without leaving ugly marks on the paper. It is a game changer for tiny ears.
It sounds totally insane, but every detail counts when you are working at such a small scale. The texture of your fingers, the sharpness of your crease tool, and the weight of the paper all work together. If one of those elements is off, the whole project suffers.
Embrace the paper supply rabbit hole
I admit I went a little overboard. After my printer paper disaster, I bought a pack of ten different colors of origami paper, then a pack of patterned washi paper, then a specific brand of Japanese foil paper. The foil paper is actually a lot of fun for rabbitcraft because it holds super sharp creases and it never, ever unfolds on its own, but it is also a bit finicky with glue if you add eyes or a tail.
You do not need to replicate my obsessive buying habits. A basic pastel pack is plenty for your first successful project. But knowing that the material was the bottleneck in my skills allowed me to actually improve instead of just getting mad at my own hands.
So go get some thin paper. Get your fingers cold and dry. Press those creases hard. You will be shocked at how quickly the frustration melts away when you are working with the right tool for the job.
It took me six tries to get a rabbit that looked like a bunny instead of a potato, and the only thing that changed between try five and six was the paper. Go figure. I hope this saves you the same headache, and please, do not blame yourself if the paper is fighting back. Get the right stuff, and fold on. What is the weirdest paper you have ever tried to fold with? I am curious if anyone else has made my exact mistake.
Leave a Comment