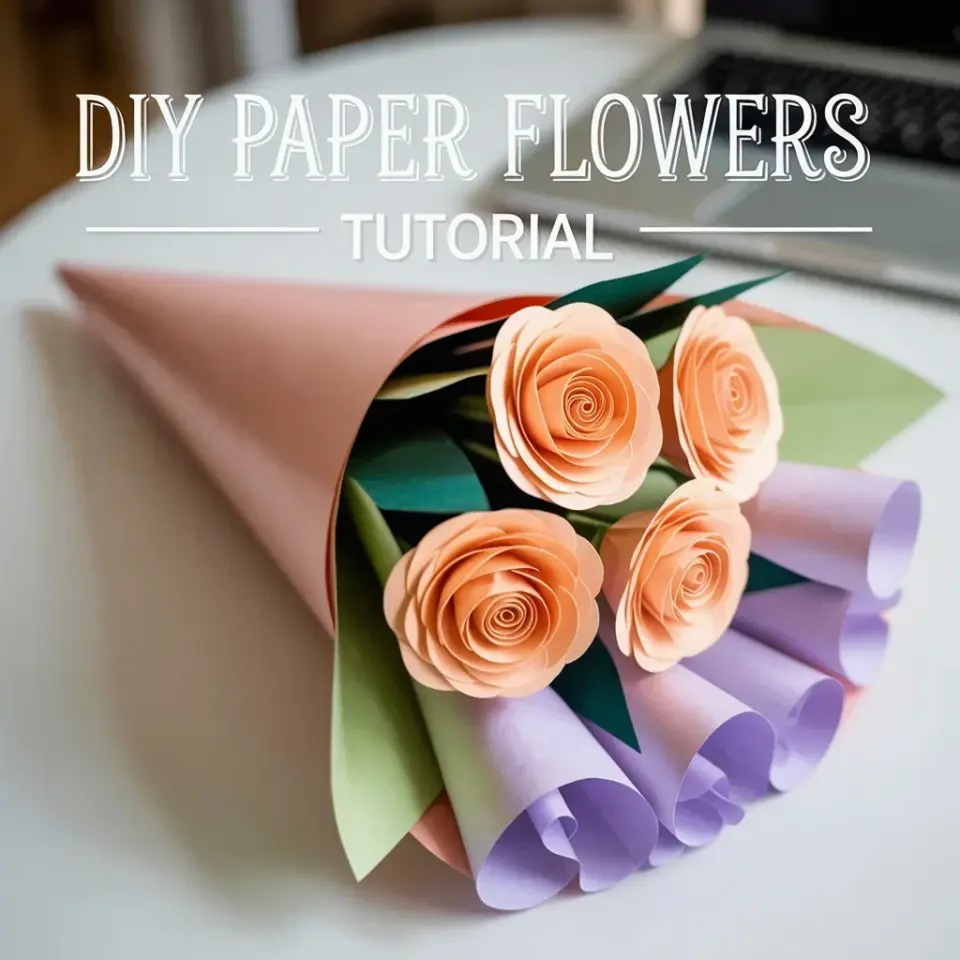
Every spring I go through the same theatrical crisis of impatience, and my solution is always the same: paper hyacinths made from cardstock. The daffodils are still a week out, the grocery store tulips look tired, and I refuse to spend fourteen dollars on a bouquet that will droop by Tuesday. So I cut, curl, and glue my way to a permanent patch of spring that lives on the dining table. Honestly, once you get the rhythm down, each paper hyacinth takes about three minutes from flat paper to finished bloom, and the whole kitchen ends up looking like a pastel garden.
Choosing Cardstock That Actually Feels Like a Petal
The first time I tried this craft, I grabbed the thickest scrapbook paper I owned and immediately regretted it. Heavy cardstock does not curl well, and my flowers looked like origami disasters with attitude problems. For paper hyacinths, you want a cardstock that’s around 65 to 80 lb weight, the kind that folds cleanly but still holds a gentle curve when you drag scissors across it.
Local craft stores sell this in single sheets, which is perfect because you only need a little bit for each flower. A full 12×12 inch sheet yields enough petals for two or three hyacinths, so a $0.79 sheet of lavender paper can keep you busy for an entire afternoon. And here’s a weird detail: I raid the wedding invitation section for pastel cardstock because those colors are softer and more realistic than the bright pack you get with kids’ craft supplies.
Stick to smooth paper, not textured or linen finish. The bumpy surface catches the glue weirdly and makes the edges look fuzzy. You also need green paper for the stem, but honestly any scrap of green construction paper works fine because you’ll just roll it into a thin tube.
The 3 Minute Cutting and Shaping Routine
Cutting a paper hyacinth is all about making small U-shaped petals. I don’t even use a template anymore. Just cut a strip of cardstock about 2 inches wide and 6 inches long, then snip across the width to make little bridges, each one roughly half an inch wide. Leave the bottom edge uncut so all the petals stay connected in a single strip.
Then comes the part that feels like magic. Take each little rectangle and trim the top corners so it looks like a tiny teardrop. No, they won’t be perfect, and that’s fine. Real hyacinth petals have that slightly bumpy, organic edge anyway. After trimming, roll each petal around a pencil or a wooden skewer to give it a lovely inward curl. Two seconds per petal is plenty.
The fastest method I’ve found is to stack three strips of cardstock together and cut them all at once. You lose a tiny bit of precision, but you save so much time that I do it every single time. The whole cutting batch for one flower takes maybe two minutes, and shaping the petals takes less than one.
Building the Stem Without Losing Your Mind
Most tutorials tell you to wrap a wire with floral tape. I find floral tape infuriating. It sticks to itself, never to the wire, and always curls into a sticky mess on my kitchen counter. So I skip the tape entirely. Use a green pipe cleaner, which gives you the same flexibility with zero fuss. Bend the top quarter inch to make a small hook, then start wrapping your strip of petals around it from the top down.
Add a dab of hot glue to the base of each petal strip as you wind it around the stem. This sounds fiddly, but it’s actually a relaxing two minute process. You just glue, wrap, twist, and repeat. Overlap the layers slightly so no green shows through, and you’ll get that dense hyacinth look that makes people go, wait, that’s paper?
For the calyx, the green part at the bottom of the flower cluster, I use a small strip of green cardstock rolled into a funnel shape. Slip it over the end of the pipe cleaner and glue it snug. A dab of glue on the inside holds everything together.
Five Hyacinth Variations for a Natural Looking Bunch
Real hyacinths rarely grow in perfectly uniform colors, so don’t be afraid to mix things up. Here are my favorite variations to try:
- Bicolor blooms: glue two strips of different shades on top of each other before cutting the petals. Pink and white looks gorgeous.
- Ruffled edge: instead of cutting teardrops, cut zigzag edges along the top of each petal for a fringed, almost carnation-like texture.
- Multi-stem cluster: bundle three finished hyacinths together and tie them with a twist tie for a full, bushy branch effect.
- Tiny buds: skip the petals entirely for a few stems. Just wrap green paper around a toothpick and glue tiny ovals of cardstock near the top. These look excellent poking out of a bunch.
One thing I learned the hard way: don’t use all the same color. A vase of twelve identical blue hyacinths looks flat, but a mix of blue, lavender, white, and one or two pink ones instantly reads as a real garden. My white hyacinths also pick up ink stains from my work desk, so I glue a scrap of paper over any ugly blemish. Saved many a flower that way.
Arranging Your Hyacinths for a Centerpiece
Here’s the difference between a craft project and a centerpiece: the stems need varied heights. Real hyacinths come in different lengths, and your paper versions should too. Cut one pipe cleaner shorter than the others, leave another long, and bend one stem slightly so it leans out of the bunch. That casual asymmetry is everything.
Use a low glass vase or a ceramic pitcher, but make sure the opening is narrow enough that the stems support each other. You can also place a small glass jar inside the vase and fill the gap with moss or shredded paper, which keeps the stems from sliding around. I do this every year for Easter brunch, and then just push a few real greenery sprigs in between the paper flowers. The combination of fake and real never fails to confuse guests in the best way.
If you want a full cluster, make six to eight hyacinths and gather them with a rubber band first. Then wrap the bottom with a ribbon or a strip of burlap. That turns your pile of individual flowers into one solid arrangement that stands up nicely on its own.
Storing and Gifting Your Cardstock Blooms
These paper hyacinths will last basically forever if you don’t crush them. I keep mine in a shoebox with a layer of tissue paper between each layer, and they’ve survived three springs so far. The petals might lose a tiny bit of their curl after a year, but a quick re-roll around a pencil fixes them right up.
They also make fantastic little gifts for a hostess or a teacher. Bundle three hyacinths together, tie a simple twine bow around the stems, and add a handwritten tag with the date. No water needed. No wrapping paper necessary. Just be careful if mailing them, because a flat envelope will absolutely flatten the flowers. Use a small box with shredded paper padding instead.
I once gave a paper hyacinth bunch to my neighbor who hates real flowers due to allergies. She kept them on her windowsill for a year, and when a petal finally fell off, she glued it back on herself. That’s the kind of longevity you’re getting here.
So go ahead and make your own batch before the spring feeling fades. You’ve got nothing to lose but a few dollar bills’ worth of cardstock and about twenty minutes of your day. Take a photo of your finished bunch and share it, because honestly, handmade spring flowers deserve their moment in the spotlight.
Leave a Comment