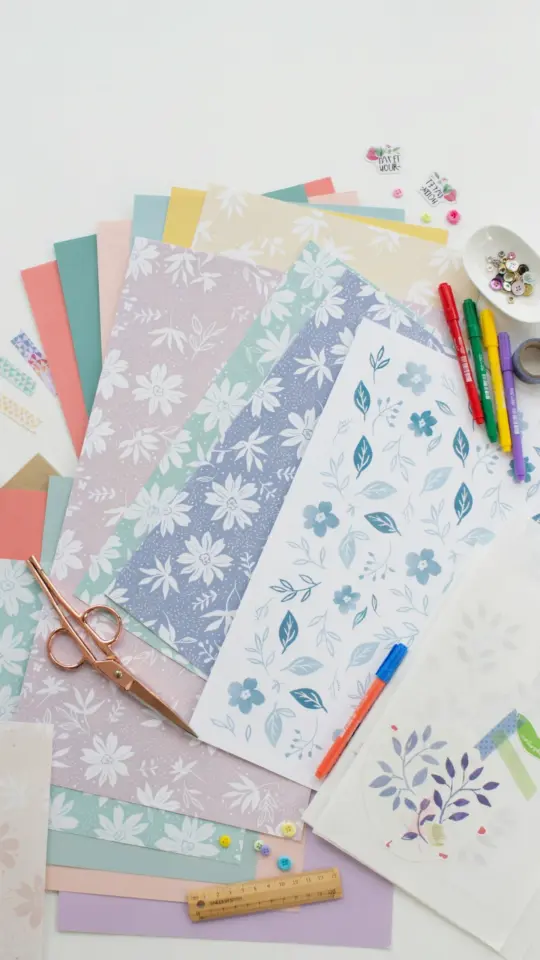
If you have ever looked at an empty glass jar and thought it deserved a second life, you are in for a treat. The paper napkin jar decoration trend has quietly become one of the most satisfying ways to refresh your home without spending much money. By combining a simple napkin with a bit of adhesive, you can turn something ordinary into a personal piece of decor that fits any season. I have made several of these myself, and the best part is how forgiving the process is, even for beginners.
Why Paper Napkin Jar Decorations Work So Well for Seasonal Home Styling
Seasonal decorating can feel expensive if you are constantly buying new vases, candle holders or storage containers. Paper napkin jar decorations solve that problem with flexibility. You can swap out the design whenever you want, simply by covering a new jar with a different napkin pattern. This year, many crafters are leaning toward vintage floral napkins for spring and subtle botanical prints for summer. The timeliness of this project lies in its ability to adapt to what is trending right now, like earthy tones and soft watercolor motifs, without requiring you to invest in new supplies.
Another reason this DIY works so well is that it uses materials you probably already have at home. Glass jars from pasta sauce, pickles or jam are perfect candidates. The napkin layer adds a delicate opacity that softens the glass, making it feel intentional and handcrafted. In a world where fast decor is everywhere, taking an hour to create something by hand feels grounding and honest.
Materials You Need for This Upcycled Decor Project
Gathering your supplies takes less than five minutes. You only need a few items, and most are affordable or already in your craft drawer. Here is what I typically use:
- Clean glass jar with labels removed (any size works, but wide mouth jars are easier to work with)
- Decorative paper napkin (two ply or three ply, but separate the layers before use)
- Mod Podge (matte or glossy, depending on the finish you prefer)
- Small foam brush or a soft paintbrush
- Scissors
- Rubbing alcohol (to clean the glass surface before starting)
One note about napkins: avoid embossed or heavily textured napkins because the glue may not adhere evenly. Standard printed paper napkins with one or two colors tend to look cleaner. If you find a napkin with a repeating pattern, you can wrap it around the jar in sections for a seamless look.
Step by Step: How to Transfer a Napkin Design onto a Glass Jar
The actual technique is simpler than it sounds. First, clean your jar thoroughly with soap and water, then wipe it with rubbing alcohol to remove any oily residue. This step matters because the mod podge needs a clean surface to bond properly. Next, separate the top printed layer from the napkin. Most napkins have two or three thin layers; you only want the printed one. Tear or cut the napkin to roughly the size of your jar, leaving a little extra at the top and bottom.
Brush a thin, even coat of mod podge directly onto the jar. Lay the napkin piece on top while the glue is still wet. Use your fingers or a soft brush to smooth out wrinkles from the center outward. Air bubbles are normal; you can pop them with a pin and press the napkin flat. Let the first layer dry for about 10 minutes, then apply another coat of mod podge over the top of the napkin to seal it. Once fully dry, trim any excess napkin from the rim and bottom with scissors or a craft knife.
Best Napkin Patterns to Try for Spring and Summer
Right now, I am seeing a lot of crafters gravitate toward small floral motifs, like delicate daisies, lavender stems or wildflower clusters. These patterns feel fresh and work well on jars of different sizes. For a more modern look, try geometric prints in muted greens or terracotta. If you want something truly seasonal for summer, lemon slice napkins or tropical leaf patterns add a cheerful vibe to a kitchen counter or patio table.
I also recommend paying attention to the color palette of your current home decor. If your living room leans neutral, a cream and sage green napkin will blend nicely. If you love pops of color, go for a bright coral or sunny yellow print. The napkin becomes the focal point, so choose something you genuinely enjoy looking at every day.
Creative Ways to Use Your Decorated Jars Around the House
After making a few paper napkin jar decorations, you might wonder where to put them. They are surprisingly versatile. Here are a few ideas that have worked well in my own home:
- Use them as bud vases on a bedside table or windowsill. A single stem of eucalyptus or a small rose fits perfectly.
- Store kitchen utensils like wooden spoons or measuring cups. The napkin seal holds up fine as long as you do not submerge the jar in
#DIYJarDecoration #PaperNapkinCraft #UpcycledDecor #HomeCraftIdeas #BudgetDIY
Leave a Comment