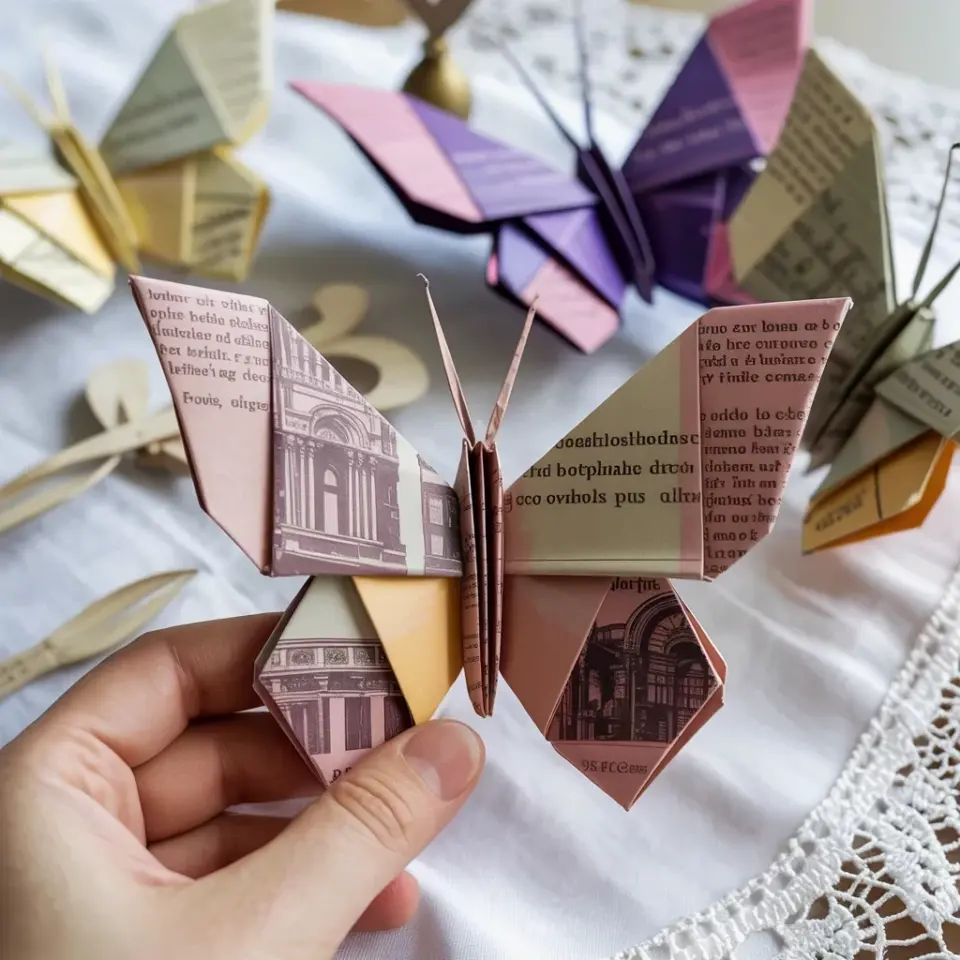
If you are looking for a cheap and cheerful way to add a pop of summer color to your home or gift wrapping, this paper strawberry origami tutorial is exactly what you need. I have always loved the idea of fruit shaped decorations, but actual fake fruit from the store costs more than I want to spend. So I roll up my sleeves with a stack of scrap paper and a little patience instead. These little strawberries take about ten minutes once you know the folds, and they look surprisingly cute sitting in a bowl or tied onto a present. The best part is that you probably already have the supplies at home, so this project costs next to nothing.
Why choose paper strawberries for budget decor?
I am a firm believer that craft projects should not require a special trip to the store. Paper strawberries fit that rule perfectly. You can use leftover printer paper, an old magazine page, or even a piece of wrapping paper you saved from a birthday present. The bright red color is easy to find, and green scraps for the leaves are probably sitting in your recycling bin right now.
Another reason I keep coming back to this origami fruit is that it takes up almost no storage space. You can fold a dozen strawberries in an afternoon, stash them in a drawer, and pull them out whenever you need a quick decoration. They are also lightweight, so you can tape them onto a string for a garland without worrying about drooping.
- No special tools needed: Just paper and your hands.
- Uses scrap materials: Old notebooks, junk mail, or leftover craft paper all work.
- Compact storage: Flatten them or keep them folded in a small box.
- Customizable: Paint or draw on seeds if you want extra detail.
Gathering supplies without breaking the bank
For this project you need two squares of paper: one red and one green. If you do not have actual origami paper, cut a regular sheet of printer paper into a square. I have made perfectly fine strawberries from copy paper that cost about a penny per sheet. The red side can be colored with a marker or even a crayon if you want to save money.
You also need a pair of scissors for trimming the green leaf piece, though you can tear the paper gently if you do not own scissors. A ruler helps to crease folds sharply, but the edge of a table works just as well. That is literally all you need. No glue, no tape, no expensive cutting machine. I speak from experience when I say that fancy supplies do not make a better strawberry, they just make a more expensive one.
Step-by-step fold for your first paper strawberry
Start with your red square placed with the colored side facing down. Fold it in half diagonally to make a triangle, then unfold so the crease line is visible. Fold the bottom left corner up to the center crease, and repeat on the right side. You should have a diamond shape with two smaller triangles pointing outward at the top.
Now fold the top layer of the bottom point upward so it meets the top edges. Flip the whole piece over and repeat on the other side. This creates a thick layered shape that will become the body of your strawberry. The next step is to blow a little air into the bottom opening to puff it into a 3D form. This part can be finicky, so take your time and gently press the sides inward to shape the fruit.
Once the body is rounded, take your green square and accordion fold it lengthwise to create a fan shape. Pinch the bottom of the fan and cut a pointy leaf shape. Unfold and you have a four leaf clover shape. Slide the green piece onto the top of the red body, and your paper strawberry is complete. I recommend watching a video if the written steps feel unclear, but these instructions work perfectly for me every time.
Tips for getting those crease lines crisp
Your strawberry looks sloppy if the creases are soft or uneven. I learned the hard way that rushing through the folds leads to a lopsided fruit that will not stand up. Use your fingernail or the back of a spoon to run firmly along each fold before moving on. The extra pressure makes the paper hold its shape much better.
If you are using thick paper like cardstock, pre crease every line two or three times. Thicker paper fights back, but it also holds a nicer form once it is folded. For beginners, I suggest starting with thin paper like standard printer paper because it is easier to manipulate. You can always upgrade to fancier paper later when you want a sturdier strawberry.
How to turn your origami fruit into gift tags or garlands
One of my favorite ways to use these paper strawberries is as gift tags. Punch a small hole in the green leaf before you assemble it, then thread a piece of string through the hole. Write the recipient name on the red body with a thin marker. It makes a homemade present feel extra special without spending money on expensive tags from the store.
For a summer garland, fold several strawberries and string them together on a piece of baker’s twine or plain thread. Space them about six inches apart and knot them in place. Hang the garland across a mantle, above a window, or along a porch railing. The bright red color adds instant cheer, and nobody will guess you made them from scrap paper.
Common mistakes beginners make (and how to fix them)
The most common problem I see is not aligning the corners exactly when folding the base triangle. If your corners are off by even a few millimeters, the final strawberry will lean to one side. Check your alignment by holding the paper up to the light before you press the crease. It only takes an extra second, but it makes a big difference.
Another mistake is overinflating the body. When you blow air into the bottom, stop as soon as the paper starts to bulge. If you blow too hard, the folds can split or the shape becomes too round and loses the strawberry silhouette. Pinch the sides gently to create that classic wedge shape. Finally, do not skip the green leaf. It seems like a small detail, but it transforms a red puff into a recognizable strawberry.
I have folded dozens of these little fruits over the years, and they still make me smile. They are a quick, affordable way to celebrate summer or brighten a rainy afternoon. If you give this project a try, I would love to hear how it goes. Drop a comment below with a photo or just tell me which paper color you used. Happy folding.
#paperstrawberry #origamitutorial #diypapercraft #origamifruit #papercrafts
Leave a Comment