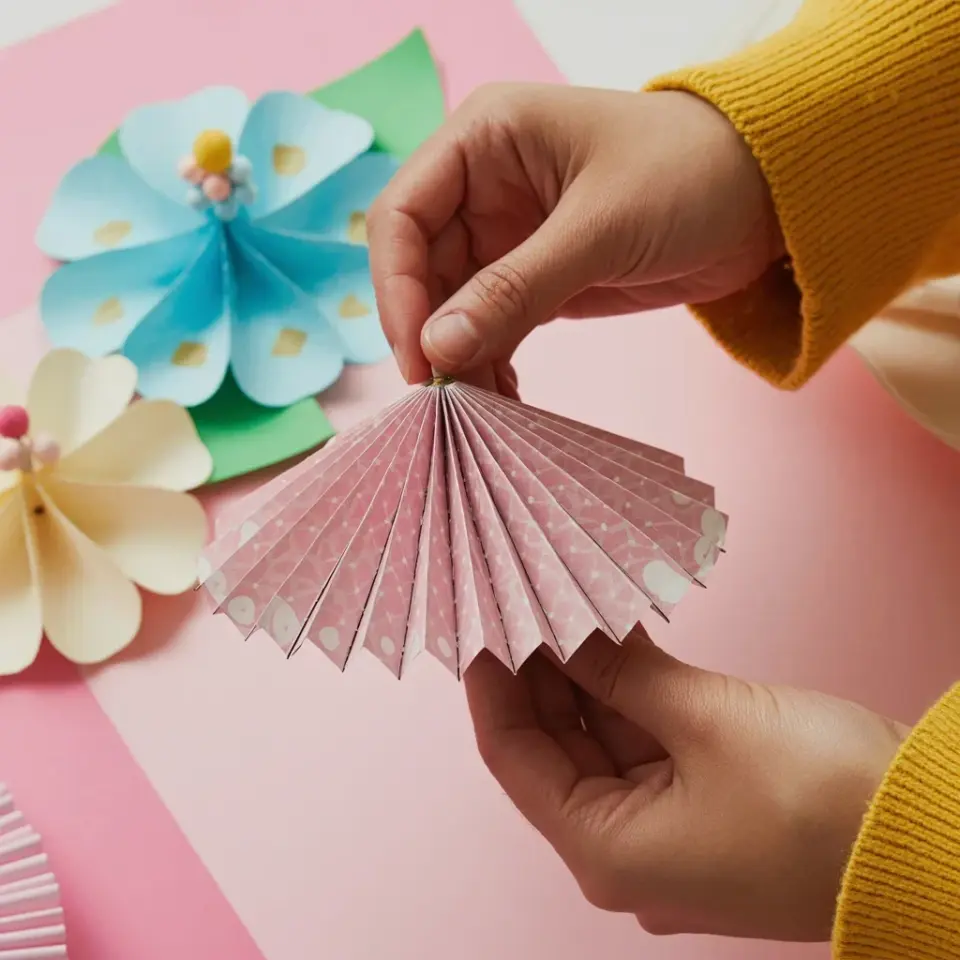
Two dollars and ninety nine cents. That is what a single sheet of fancy origami paper costs at the craft store near me, and honestly, for a kids’ project, that is a rip-off. The sakura paper craft we actually make uses paper scraps, the recycle bin, and a few supplies you already own.
Look, I have folded a lot of paper blossoms with my own kids, and not one of them turned out perfect. I have stopped caring. The flowers we make are a little lopsided, but they are bright, cheerful, and their satisfaction at seeing their work hang in the window is worth more than a perfectly sharp fold.
**What You Really Need for This Sakura Paper Craft (Raid Your House First)**
Before you buy anything, go look in your paper drawer. You know the one. It is stuffed with leftover wrapping paper, old greeting cards, and that stack of pink printer paper you bought because it was on sale.
Gather these basics:
– Square paper (any size, but 4×4 or 6×6 inches is easiest for small hands)
– Pink, light pink, and white paper (scrapbooking paper, copy paper, or even magazine pages)
– Green paper or green pipe cleaners for the stems
– Glue stick (the wet glue gets too messy here, trust me)
– Scissors that actually cut, not the dull ones from the junk drawer
Here is the thing: you do not need washi tape. You do not need a scoring board. You do not even need a bone folder. A fingernail is perfectly good for making a strong crease.
**Simple Origami Flower Instructions, Sans the Stress**
Okay so, the secret to this origami for kids is that we are not making a complicated five-petal bloom from one sheet. That is frustrating for adults, let alone a five year old. We are making four individual petals and glueing them together.
Start with a square piece of pink paper. Fold it in half diagonally to make a triangle. Unfold it. Fold it in half the other way, making another triangle. Unfold it again. You should have an X mark on your paper.
Fold all four corners into the center point. This is called a blintz fold, but you do not need to tell the kids that. Just show them. Press down hard on the center so it stays flat. Take a corner, fold it back out to meet the outer edge. Do this for all four corners. You get a shape that looks a bit like a pinwheel.
Now flip it over. Look at that, you have a flower petal. Okay, honestly, it looks a bit like a box top right now. Do not panic. We are fixing that.
**The Magic Fold That Turns Paper into a Petal**
Here is the part that makes this sakura paper craft actually look like a cherry blossom. Take your folded pinwheel square and pinch it from the top center edge. Squeeze the paper down toward the flat center. This creates a little puff on the side of your paper shape. Do the same on all four sides.
You are not trying to make it perfect. Look, real cherry blossoms have overlapping petals and natural curve. When you pinch those four sides, they start to fold over each other naturally. That is what you want.
Once all four sides are pinched, you will see a flower-like shape with round sections. Put a dab of glue in the center and press it flat. Let it dry for two minutes. This paper flower is now sturdy enough for the kids to wave around like a magic wand.
**Stems and Leaves for Your Budding Cherry Blossom**
No paper flower looks complete without a little green. This kids paper crafts project needs a stem, or your flowers will just be lying around the coffee table. From the scrap drawer, cut a long strip of green paper, about half an inch wide and six inches long. Roll it tightly around a pencil. Tape the end. Slide it off the pencil, and you have a curly vine.
Alternatively, get a green pipe cleaner. Twist it around a pencil. It takes ten seconds and it is movable.
For a simple leaf:
1. Fold a green square in half.
2. Draw a half-oval on the folded edge.
3. Cut it out and unfold.
4. Glue or tape it to the stem.
If the crafts are a little messy, that is totally fine. A wonky leaf is just a leaf with character. This is your diy spring craft, so embrace the imperfections.
**Where to Hang Your Finished Cherry Blossom Craft**
This is where the project really shines. I tape our blossoms to the window using a small piece of painter’s tape that I flip over so it sticks to itself. You cannot see the tape from the outside, and the blossoms look like they are floating in the sunlight.
String them up on a piece of yarn to make a beautiful bunting. Staple them to a piece of twine and hang them across the fireplace. I had a bunch of these taped to the refrigerator all last spring, and they did not look out of place next to my kid’s alien drawing.
Get the kids to fold five or six of them. Once they get the hang of the base fold, they will bang them out in ten minutes. Seriously. They do not need your help for the repetitive part, only for the pinching part at the end.
**This Origami for Kids Is a Rainy Day Ritual**
I have a mild, silly opinion about this: a rainy afternoon is the only time this craft really works. When the sun is shining through the window and you have the whole mess of girl scout paper and glue sticks, it just feels like a chore. On a grey day, the bright pink paper is a tiny breath of spring in a solemn house.
This diy spring craft is about being cheap, using what you have, and making something that looks genuinely lovely. Save this for when you are stuck inside. Grab a stack of pink paper and a glue stick, and make a few.
**Let the Blossoms Fall**
Make your sticks crooked. Make your petals uneven. Let your toddler smear glue on their forehead. None of that matters. The final craft will still look like a dreamy branch of cherry blossoms bought from a store, except this one was made with love and a little bit of sticky glitter.
Go make a couple with your kiddos. If you hang them up, tag me or tell me in the comments below, I would love to see what colors you used.
Leave a Comment